
Keeping track of satellite channels is easier when their broadcasting information is presented clearly and regularly updated. If you are looking for a specific channel and want to know how to receive it on your satellite receiver, this article provides a convenient guide covering the essential reception details and the basic installation procedure. Instead of dealing with complicated technical explanations, we focus on practical information that can help you locate the channel, enter its settings correctly, perform a manual scan, and save it to your receiver. Whether you are replacing an old frequency or adding the channel for the first time, the instructions are designed to make the process simple and accessible.
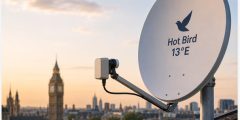
Today, it is possible to receive signals from multiple satellites using just one satellite dish. This approach saves users a lot of time, effort, and configuration costs. It is widely used by satellite TV enthusiasts, as it allows access to channels from different satellites such as Nilesat, Arabsat, and Hot Bird without the need to setup multiple dishes. In this article, we explain how this technique works, how it is applied, and the main equipment used.
First: The Idea of Receiving Multiple Satellites
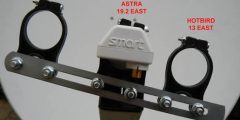
The concept of receiving multiple satellites relies on positioning a single dish in a way that allows it to capture signals from different orbital positions in the sky. This is achieved by using multiple receiving heads (LNBs) on the same dish, with each LNB directed toward a different satellite.
For example, one LNB can be aimed at Nilesat, another at Arabsat, and a third at Hot Bird, while the main dish remains fixed in a central position.
Second: Required Equipment
To receive multiple satellites on a single dish, several basic components are needed:
- One satellite dish of suitable size (usually slightly larger than standard)
- Multiple LNB units depending on the number of satellites
- Multi-LNB holder for mounting the LNBs
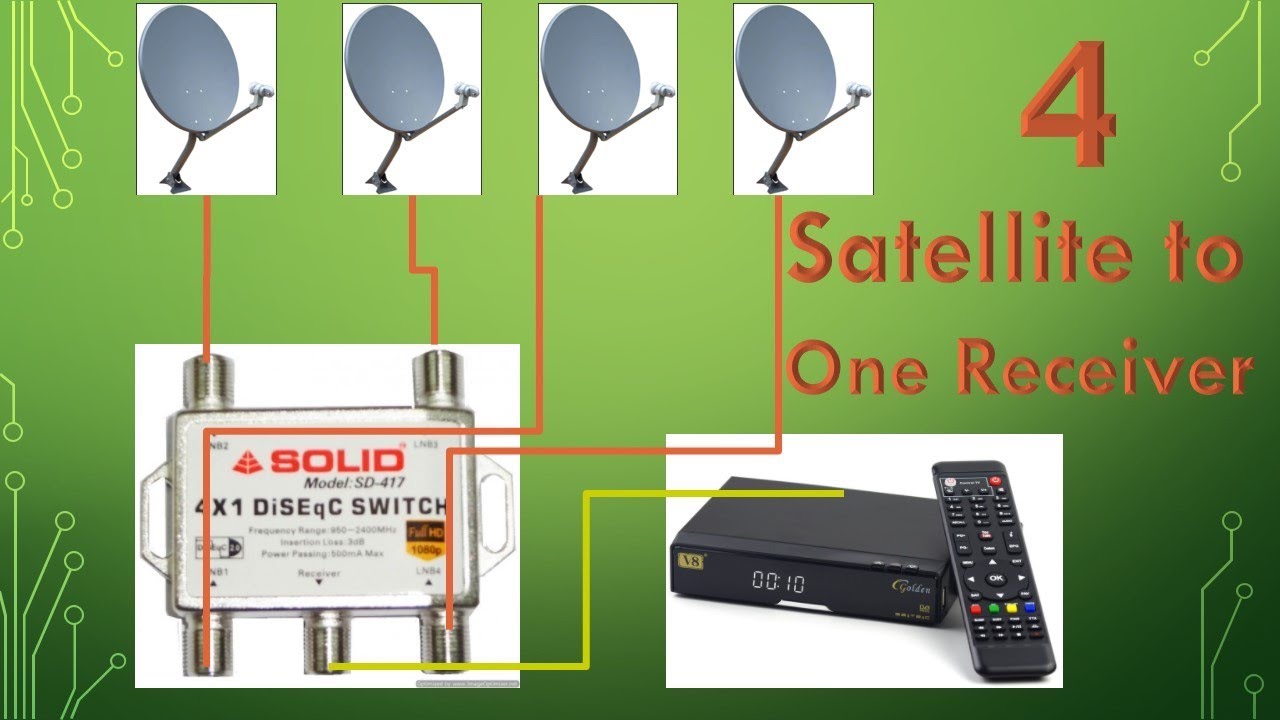
- DiSEqC switch for transmission management and switching
- A satellite device that supports multi-satellite switching
Third: Installation Method
The configuration process involves several important steps:
- Selecting the main satellite: The dish is first aligned to the strongest or most commonly used satellite in the region, such as Nilesat.
- Installing the main LNB: It is carefully adjusted to receive the best possible transmission.
- Adding additional LNBs: Extra LNBs are mounted beside the main one, each pointing to a different satellite.
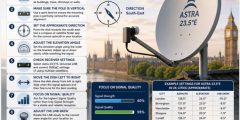
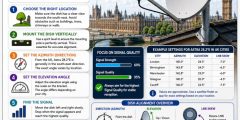
- Fine-adjustment the angles: Each satellite has a different orbital position, so precise adjustment is required to achieve strong transmission clarity.
- Connecting the DiSEqC switch: All LNBs are connected to the switch, which is then linked to the device.
- Configuring the device: Satellite settings are entered, and each LNB is assigned to the correct port in the system.
Fourth: Satellites That Can Be Combined
The ability to combine satellites depends on the geographical location, but in most Arab regions, users can typically receive:
- Nilesat
- Arabsat
- Hot Bird
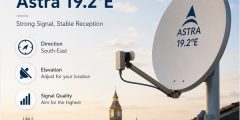
- Astra (in some areas)
The closer the orbital positions of the satellites, the easier it is to combine them on a single dish.
Fifth: Advantages of Receiving Multiple Satellites
- Lower configuration cost compared to using multiple dishes
- Easy switching between channels from different satellites
- Wide variety of content (Arabic, European, and international channels)
- Reduced space required for configuration
Sixth: Challenges and Difficulties
Despite its advantages, this system has some challenges:
- Requires precise positioning and technical accuracy
- Some edge satellites may have weaker transmission strength
- Weather conditions can affect transmission clarity
- Professional configuration is often recommended for best results
Seventh: Tips for Better Performance
- Use a high-clarity and appropriately sized dish
- Choose reliable, high-performance LNBs
- Ensure the dish is firmly mounted to withstand wind
- Use a high-clarity DiSEqC switch
- Carefully adjust each satellite individually for best transmission
How to Deal with Weak Signals on High-Frequency Transponders
- High-frequency transponders can be more sensitive to dish alignment and installation quality.
- Fine-tune the dish position while monitoring signal quality rather than signal strength alone.
- Inspect the LNB, connectors, and coaxial cable for losses or damage that may affect reception.
- Consider the dish size and satellite footprint when persistent weakness affects specific high-frequency services.